The storage that is running blog.destephen.com is a product of several iterations of lab Network Attached Storage (NAS) setups. What it developed into today allows storage and playback of 1080i home videos, bulk storage of personal files, as well as running 30+ VM’s on a daily basis. This post, while long, walks through the some features and through processes along the way of designing the 21 disk, 25 TB system.
The storage appliance that runs this system is a custom built Intel Xeon 5600 series system. Its goal included being able to stream up to 1080i video from the bulk sized, low disks, while support my ever-growing lab configurations on higher speed disks, all while consuming minimal power.
This system was certainly not something I built overnight, it was designed, built, and added onto over the course of a full year. I did not have any of the vendors provide equipment, so that also was part of the reason for spreading out the purchases. I am, of course, always open to freebees :). </shameless plug> One of the things I highly suggest when designing your system is taking a look as what you intend to serve with your system. Your needs may fit something more along the lines of a purchased system versus a custom white box NAS. Hopefully you will find the post interesting even if you are only looking for a pre-built NAS.
Design
First, I decided to use a Xeon based system as the building block of my NAS. I likely could have gotten away with a standard Intel i7 or similar system, but I had planned on pushing quite a bit of data through this system. Choosing the Xeon based system over the i7 allowed higher memory densities and the use of ECC memory. iSCSI based traffic will use the RAM as a temporary cache before data is written to the drive.
The other benefit of the Xeon based system was the ability to virtualize my storage appliance and allow additional resources from the host to be used for VM’s. While to this day I have not done that yet, it was an added perk to the higher memory densities.
The Build Begins…
The Motherboard
After some researching, I chose a Xeon based Asus Z8PE-D12 motherboard. This motherboard will support up to two Xeon 5600 series processors and 96GB of ECC memory. It also allowed several PCIe slots could be used for RAID controllers or additional network cards. It does offer plenty of SATA 2.0 connections and Intel based NIC’s. One of the additional benefits of this board the iKVM capabilities. This ASMB4-iKVM will allow you to manage the system through a web page, including access to the video console and IPMI 2.0 monitoring statistics. Below is an example of the sensor readings from my Asus Z8PE-D12.

Asus ASMB4-iKVM IPMI 2.0 Monitoring
An image of the Z8PE-D12 processor and memory locations.

Asus Z8PE-D12 Processor and Memory Configuration
The Case
Now that the motherboard was selected, I had to find a case large enough to fit my needs. I needed this case to:
- Be rack mountable
- Fit the Asus Z8PE-D12 motherboard
- Allow for plenty of disks
- Allow for front-to-back airflow to be achieved for cooling of the components
- Any installed fans had to be relatively quiet
This often changed as I also researched the drives, as the configurations and counts would change. The case I ultimately chose for my setup was the Norco RPC-470. This case offered 10 internal 3.5″ bays and 3 external 5.25″ bays. It fit the Asus Z8PE-D12 EEB sized board that would be later installed. While the case is quite large (25.5″ long and 4U), one of the perks in my opinion was the fan placements.
This case has the standard two 80mm bays in the rear of the case and two 120mm bays at the front of the case right in front of the drives. If that wasn’t enough, there is a bracket that will house five (5!) 80mm fans behind the disks, but in front of the motherboard. this bracket also houses a power distribution that allows for one Molex connector to supply power for up to six fans. The Norco RPC-470 does come with 4x 80mm fans on this bracket, but buyer beware as this cost-friendly case comes with cheap fans. An easy fix is to order a few nice fans to replace. Notice that there is not a 4th pin on the power distribution so you will not be able to monitor the fan speeds.

Norco RPC-470 Fan Bracket and Power Distribution
The other somewhat annoying thing about this case is the four screws required to remove the top cover. Although they can be driven with a #2 Phillips, these screws are rather small and easily stripped or lost. Below is a picture of the small screw next to a #2 Phillips screwdriver.

Norco RPC-470 Case Cover Screw
Although this case is overall a cheap cost efficient case, for my setup I was not able to top the flexibility for the price. This ended up also being the case I used for my ESXi servers.
Case Fans and Heat Sink
Really? A section on case fans? Yes.
Due to some very interesting decision points, I chose to create a section around the case fans. Since there are fans decisions around the heat sinks, I included that here as well. Without applying much thought to this department, your custom system may either be heard throughout the house or run too hot and fail well before its time. If you have ever powered up a manufactured server in your basement, you understand the noise concern.
With my Asus Z8PE-D12 motherboard, there are connectors on the board that support a fourth wire on the case fans. This fourth wire is able to monitor the fan speed. It is quite handy as you can setup alerts if the fans bearings begin to fail.
Another thing to consider with fans is the sizing. The larger the fan, the lower RPM required to have air flow. The lower the RPM, the more likely the fan is quieter. The primary fans in my system is 80mm or larger for that reason. Think back to the 1U/2U HP/Dell/IBM systems and how loud those are…
The heat sink I chose was an active heat sink. Due to having a 4U case, I was concerned about airflow being channeled through a passive heat sink. This posed a problem as I was attempting to stay with a larger diameter fan. I was able to find an active heat sink for the Xeon 5600 series processor made by Super Micro. This heat sink included an 80mm fan and fit within a 4U case.
I later found out that this particular heat sink did have a draw back. Due to its width, the last memory module is underneath the heat sink and would be unusable without slightt modification of the heat sink.

The Heat Sink Overhanging the Memory Slot
With the Norco RPC-470 cases used in my environments, I run a total of ten fans in the case. For the fans that have the ability to use a fourth power wire, I standardized on Cooler Master Blade Master fans. For the standard three wire fans, I used Enermax fans. The standard fans were only used on the Norco case fan bracket. The fan counts are below.
- 2x 120mm Cooler Master Blade Master in the front of the case
- 3x 80mm Enermax UC-8EB fans in the middle of the case
- 2x 80mm SuperMicro SNK-P0040AP4 on the processors
- 2x 80mm Cooler Master Blade Master in the rear of the case
- 1x 120mm Fan within Corsair AX-750 power supply
Power Supply
Next topic to talk about is the power supply. One of the overal goals of this system is to be power efficient. I chose to purchase a 80 PLUS GOLD power supply. In my mind, if you purchase all this high performance equipment, you want to provide it with clean, reliable power. I would highly recommend not to cut corners on your power supply. (and buy a UPS!)
I chose the Corsair AX line of power supplies to run my systems. I estimated the required wattage and determined that a my systems would best utilize a 750w power supply. The Corsair AX750 is around 90% efficient at a 50% load at 120V.
The Corsair AX750 power supply also includes all the necessary power cables to run an ATX motherboard with two EPS12V power plugs. The EPS12V are required with the Xeon processors. With the cables being modular, it allows the cases to remain relatively clutter free.

AX750 Modular Power Supply
Processor and Memory
I choose the Xeon 5606 processor to build on. I decided to run a single processor for the time being, but chose one with four cores. This “lower end” Xeon was chosen as the CPU required to run my storage platform would be minimal. With 8MB of L3 cache and a 2.13Ghz clock, this Westmere processor would be more than enough horse power.
If you you are planning on running iSCSI to a virtualized environment such as VMware ESXi, you want to make sure that you have at least 8GB of RAM. The more memory you throw at the system, the more cache available to you. If you choose to run FreeNAS with ZFS, you can also create a Tier 3 cache using solid state drives. I run OpenFiler currently in my lab.
I setup my system with 24GB of Corsair memory. OpenFiler routinely uses ~99% of the memory due to caching and buffering. The OpenFiler OS only reserves about 1.25GB of that memory for its use. The rest is used for buffering and caching.

OpenFiler Memory Usage
RAID Controllers and SAS Expanders
So far, we have talked about building a NAS box, but haven’t really touched on any of the actual storage “stuff”. Well here we are. This part of my system is actually the first component that was purchased. At the time, SATA III was just becoming more popular and more cost efficient. This discounted some of the SATA II RAID controllers. Since I was more concerned about multiple simultaneous reads/writes, I opted for a higher disk counts over individual higher disk speeds.
The RAID controller I found a good deal on was the Highpoint 4320. This particular RAID controller features a 1.2GHz processor on the card, 256MB of memory, hot-swap capability, and two SAS internal connectors. In addition to the standard specifications, it also featured a web based management. Simply apply an IP through the BIOS at start up and you can manage your disks out of band. The RAID card itself has capability to send you an email when an event has occurred. This email feature has come in handy when a disk has failed.

Array Configurations in HighPoint 4320 Web Management
The RAID card has two SAS ports, supporting up to 8 SATA disks through a special adaptor cable. My particular design would have more than 8 SATA disks in the case and thus required a SAS expander. Using the Intel RES2SV240, you are able to add additional disks to a RAID controller. These expansion modules are quite slick. This card simply provides connectivity, no additional features or caching. It does require a separate RAID controller – in my case the HighPoint 4320. These cards can be daisy chained if necessary allowing support for up to 128 devices controlled by a single RAID card. In addition, the card can be powered by a PCIe slot or a Molex 8981 power connector. The Molex power connector allows the card to be mounted anywhere within the case, which could be quite handy.
Hard Drives and Enclosures
Last but certainly not least, the hard drive configurations. There was a fair amount of research that went into the drive configurations. My goal of the system was to have higher disk counts to allow multiple simultaneous reads/writes to the system. As you can see from the image below, I chose to split up my storage into four arrays.
Array Configurations in HighPoint 4320 Web Management
“RAID_5_0” 16TB Array
Clearly needing renamed 🙂 – The 16TB RAID 5 is setup for lower speed, high volume. This array consists of 8x 2TB Western Digital Green 3.5″ drives. These disks were chosen due to the high volume, but lower power consumption and low heat. These drives will each only use about 6 watts of power. This means you can use 48 watts for 16TB of disks and keep the heat to a minimum. The first image below shows the how close the drives are, yet the consistently run around 80 degrees fahrenheit as shown in the second image.

Western Digital Green Drives in the Norco RPC-470 Bracket

Hard Drive Temperatures Read from HighPoint 4320
In my systems setup, these are the disks that would store and stream the 1080i family video from my Canon camcorder. This would also house ISO images, family photos, and standard “My Documents” types of files. This media is shared via an LDAP authenticated CIFS share via OpenFiler.
This was my first set of hard drives purchased and at the time, Western Digital did not have the Red version of the drive that is available today. I can write to these disks at 85MB (680Mbps) with a standard load on the other Arrays. Where this particular drive configuration would break down is if you were to attempt to have a decent amount of simultaneous writes.
4TB Array – “ESXi”
The second array is 3.5TB. This array consists of 8x 500GB Western Digital Scorpio Black 2.5″ hard drives. Yes, these are laptop hard drives. I found that the Scorpio drives offered the same performance as the larger, more power hungry Caviar Black brothers. The only difference was a slightly smaller cache – 16MB in Scorpio’s, 32MB in Caviar. While somewhat more expensive than the Caviar per gigabyte, the biggest perks of these drives are smaller foot print and lower power consumption. These drives will use at max 1.75 watts of power. The foot print and mounting are covered in the next section – 5.25″ Bay Adaptor. As shown below, I was pleasantly surprised about how fast these drives can actually run in this setup. The entire array is sent via iSCSI to my VMware ESXi environment. Within this screenshot, three Cisco UC applications are installing at the same time. While the environment has since grown to 60+ VM’s, only 30 or so run on a daily basis.

710Mbps Write from ESXi to OpenFiler
I did research other options, but the scorpio drives provided the biggest bang for the dollar. The 2.5″ SAS drives would have been faster and better, however they are significatnly more expensive per gigabyte. I had to balance cost versus space.
1.5TB Array – “Workspace”
This array consists of 3x 750GB Western Digital Scorpio Black 2.5″ hard drives. This array is a open workspace for manipulation multimedia files as well a location to install applications on some of my lower capacity laptops (60GB SSD…). CIFS shares are located on this drive.
1TB Array – “Backups”
This array serves as my backup target. It uses 1x 1TB Western Digital Green and 1x 1TB Western Digital Scorpio Blue drive. The Scorpio Blue drive is setup in a hot-swappable adaptor and I rotate with an identical spare drive on a regular basis. This array is sent via iSCSI to a machine that syncs specific folders from the 16TB array.
Operating System Disk
The OpenFiler OS is loaded on a 8GB USB drive that mounts on the inside of the case. (Thanks for the drive @aossey!)

USB Drive for OpenFiler Installation
Mounting the Scorpio Drives
As you may imagine, there has been many scorpio hard drives listed above. These drives are mounted across three ThermalTake MAX-1562 5.25″ bay adaptors. This adaptor allows six 2.5″, 9mm laptop hard drives to be mounted within a single 5.25″ bay. The indicator lights on the front will flash red with drive activity. In addition, the adaptor allows the drives to be hot-swapped. The hot swap feature is often used within the backup array, but the real benefit for me is the density.

Thermal Take MAX-1562 Adaptors
I hope you have enjoyed reading about the components and some of my though processes behind the decisions. Overall the system operation has been successful and handles large amounts of traffic quite well. Below are some additional pictures of the setup with appropriate captions.

Front View of the RPC-470 with CoolerMaster 120mm Fans and Thermal Take MAX-1562 Drive Adaptors. In addition, the front dust cover is flipped open.

Rear of the Storage Appliance (Bottom) and ESXi Server (Top). (low light, no tripod)

The Top of the RPC-470 Case is Open

The HighPoint 4320 (Right) and Intel RES2SV240 (Left)

The SATA Cables running from the RAID Controller

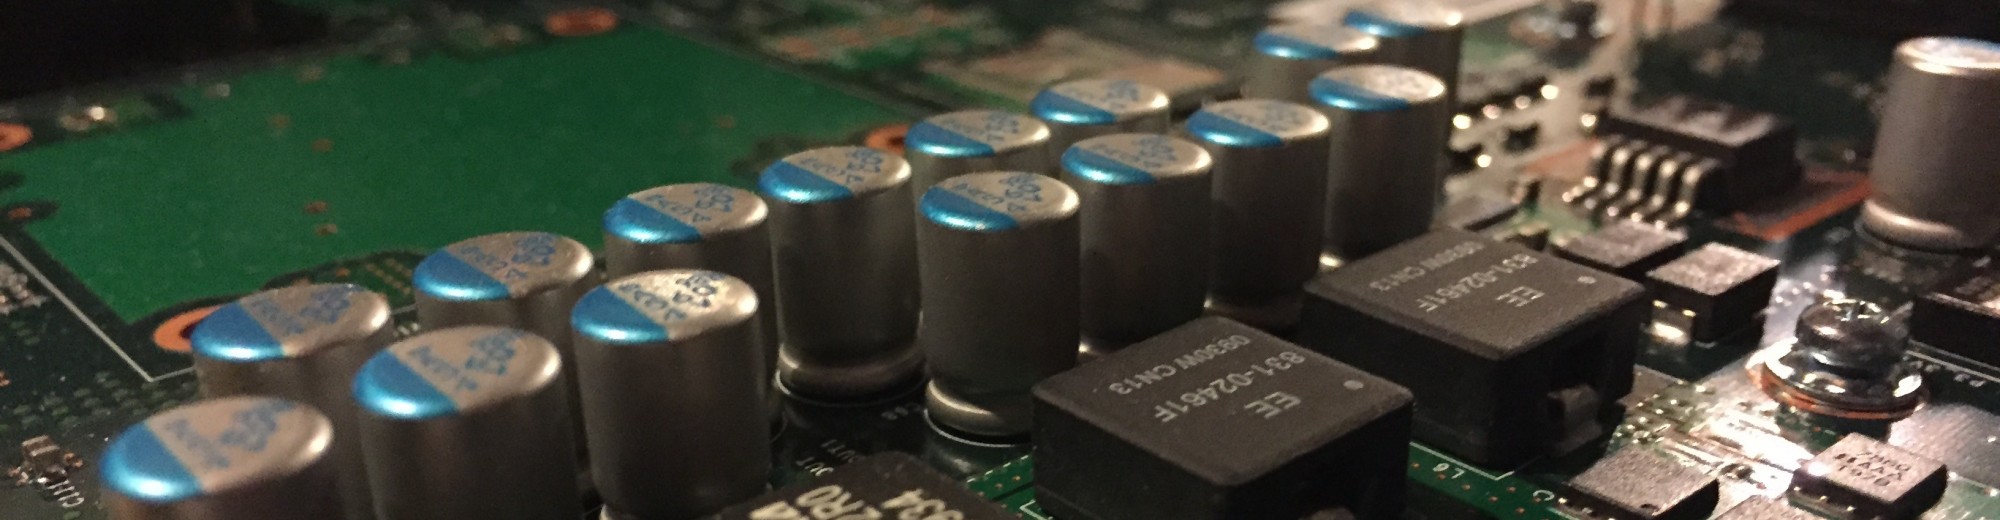
Fans and Western Digital Green Hard Drives
Hello,
Cool, I am not the only crazy guy in the world!
I have a bit the same as you (but bigger!, indeed).
Just a question; where di you findthose big fans on the front side of the case?
Thanks,
The size would be specific to your case, but there are 120mm fans in the front of the pictured cases.
http://www.newegg.com/Product/Product.aspx?Item=N82E16835103069
Thanks!